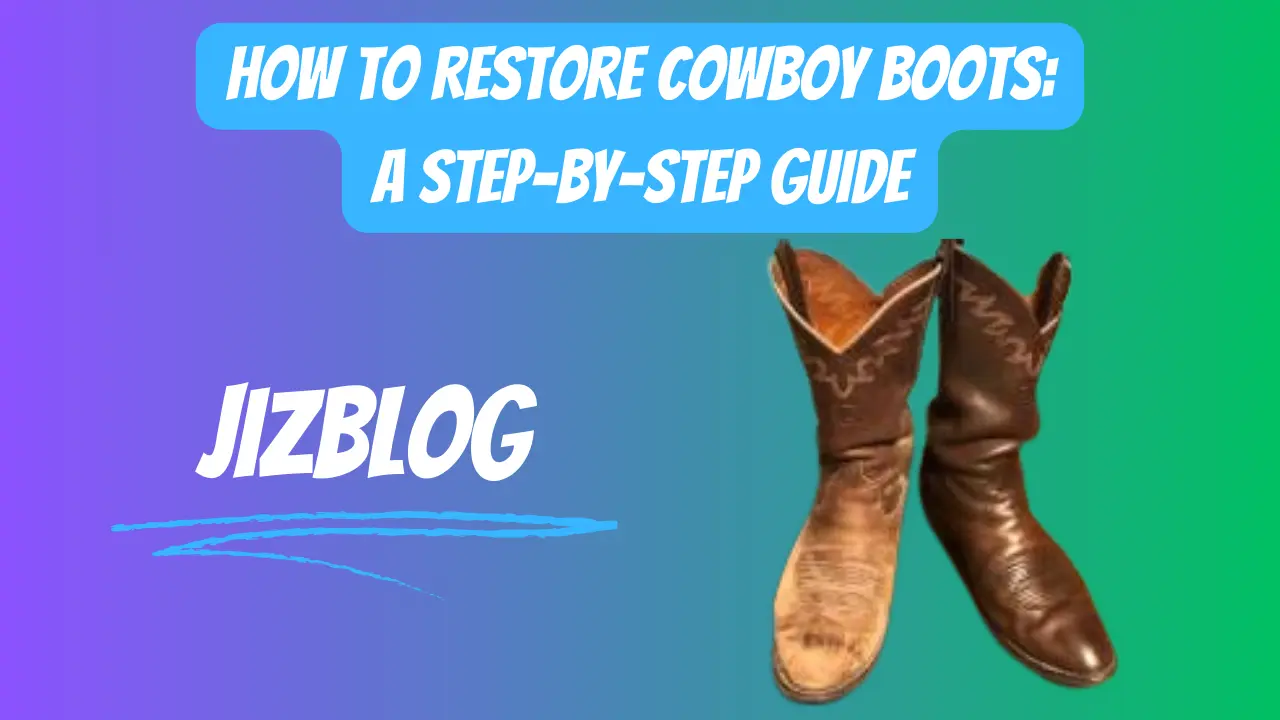
As someone who frequents vintage clothing stores, I couldn’t help but buy the worn-in cowboy boots I spotted even if they had certainly seen better days. Once my favorite accessory, the vintage leather was dry and cracked and the soles were badly in need of repair. But instead of giving up and getting rid of my salvaged treasures, I really wanted to revive them. After investing in some conditioning products that didn’t do the trick, I committed myself to learning exactly how to restore cowboy boots to their original glory.
Through trial and error with a few household items, I finally transformed those beat-up old boots into my new favorite way to adorn my jeans. Read this to learn my successful tips for how to restore cowboy boots so yours will shine like new too!
Why Restore Your Cowboy Boots?
If your boots could talk, they’d have some amazing stories to tell. From the day you bought them to the many adventures you’ve shared, your cowboy boots are more than just a fashion statement—they represent treasured memories and your personal history.
You can keep those memories alive by restoring them while getting back a practical pair of boots. Quality cowboy boots can easily last decades when properly cared for. Brand-new boots off the shelf at your local Western wear store will set you back $200 to $500 or even more. But with restoration, you can revive your old favorites for a fraction of the price.
Restoring your boots will also allow you to maintain their structural integrity for comfort and safety. According to master bootmaker Hank Willis, worn soles and heels can cause foot pain and balance issues. Restoring these components helps the boots function like new ones.
Table: Cost Comparison of Restoration vs New Boots
| Task | Restoration Cost | New Boots Cost |
|---|---|---|
| Basic cleaning & conditioning | $20 | $200-$500 |
| Dyeing | $40 | $200-$500 |
| Resoling | $60-$80 | $200-$500 |
| Heel replacement | $25 | $200-$500 |
| Stitching paint touch-up | $30 | $200-$500 |
| Total | $175-$195 | $200-$500 |
Supplies You’ll Need

Before you get started on the restoration process, make sure you have the following supplies on hand:
- Leather cleaner or saddle soap
- Leather conditioner
- Boot polish in your boots’ original color
- Cotton cloths or rags
- A toothbrush or other small brush
- Boot trees
- Leather deglaze (for dyeing only)
- Leather dye in your preferred color (for dyeing only)
- Protective finish spray
Quality matters when it comes to boot care products. Invest in high-end cleaners and conditioners from reputable Western wear brands. According to leather crafting experts, these products contain gentle, effective formulas that won’t damage the leather.
Step 1 – Clean Your Boots from Top to Bottom
The first step is giving your cowboy boots a thorough cleaning from top to bottom. This removes embedded dirt and debris so you’re starting with a blank canvas.
Mix a small amount of leather cleaner with warm water in a bowl according to the product’s directions. Using a soft cloth, dip into the solution and wring out excess liquid. Gently wipe down all exterior surfaces of the boot’s leather, including the toe, heel, shaft, and overlay pieces.
Make sure to scrub any visibly dirty areas and creases extra well. For hard-to-reach spots like embroidered designs or intricate stitching, opt for a toothbrush dipped in the cleaner.
Once finished cleaning, pat the boots dry with a fresh dry cloth. Allow them to completely air dry before moving on to conditioning.
According to John Baker, a boot restoration professional, properly cleaning boots helps the conditioning soak in better for maximum impact. Don’t skip this step!
Step 2 – Condition the Leather
Once your cowboy boots are clean, it’s time to rehydrate and nourish the leather with conditioner. Think of this step as moisturizing extra dry skin.
Choose a conditioner designed specifically for smooth leather. Massage a dime-sized amount into the boots using a clean cloth and circular motions. Focus on areas that seem especially dried out and absorbent.
Let the conditioner soak in for 5-10 minutes before buffing the boots with a fresh cloth. The leather will appear deeper, and richer in color once conditioning is complete.
Be careful not to overdo it on the conditioner, advises leatherwork expert Juliette Edwards. Too much can leave boots feeling gummy and sticky.
Step 3 – Polish Away Scratches and Scuffs
With clean, conditioned leather, it’s time to make those boots shine like new with polishing. This helps conceal scuffs and light scratches.
Use a polish that matches your boots’ original color. Work a small amount of polish into the leather using a clean, dry cloth and firm circular motions. Cover the entire boot exterior.
Once finished polishing, grab a fresh dry cloth and buff the boots. The friction helps the polish penetrate while giving the leather a luminous, like-new glow.
For best results, repeat the polishing and buffing steps 2-3 times. This builds up layers of polish that hide imperfections in the leather.
Master boot shiner Lisa Reed recommends choosing a wax-based polish rather than liquid, cream, or gel polish for maximum brilliance and durability.
Step 4 – Replace Worn Soles and Heels
If walking in your cowboy boots feels like you’re tromping around on hardwood floors, it’s time to replace the soles and heels. Worn foot components cause discomfort and throw your body out of alignment.
Take your boots to a skilled cobbler to have new leather soles professionally attached. Cobblers have industrial strength equipment to detach the old sole and adhere to the fresh sole for a long-lasting bond.
While you’re there, go ahead and replace old heel tops too. Rubber heel tops wear down fastest and will need replacing every 8-12 months with regular wear. Leather heels last closer to 2 years.
According to veteran cobbler Randy White, worn foot components also make boots more prone to cracking. Replacing them helps the boots last years longer.
Step 5 – Reshape Shafts with Boot Trees
Slipping on saggy old cowboy boots just doesn’t feel right. Restore structure and shapeliness to worn boot shafts using cedar boot trees.
The cedar wood absorbs moisture and deodorizes inside the boots. But more importantly, the tree’s firm, contoured shape stretches and fills out the shaft leather.
Keep the trees inserted any time you’re not wearing your boots. The tension from the trees plus their moisture-wicking properties help the leather retain proper form over time.
Rotate between 2-3 sets of boot trees to allow the cedar to fully dry between uses, says master bootmaker Luis Ortiz. Consistent tree-wearing is key to seeing dramatic reshaping results.
Step 6 – Apply Protective Finish (Optional)
Once your newly revived cowboy boots are ready to ride, keep them looking sharp by applying a protective finish. This clear spray acts like a raincoat against the elements.
Spray a light, even coat over the entire surface of boots. Let fully dry. Then apply a second coat for strong water resistance.
Reapply finish every 1-2 months to maintain protection, especially if boots get heavy wear. Washing or polishing also removes the finish, so respray after these activities.
Leather care specialist Amanda Rogers recommends using a finish with UV blockers. This prevents sun damage, which dries out leather over time.
Advanced Restoration – Dye and Paint Touches
If your cowboy boots are discolored or the iconic Western stitching paint is chipped, take restoration to the next level with dyeing and touch-up paint:
- To evenly redye badly faded boots, apply leather deglaze, dye, and finish. Use thin coats of dye for gradual color build-up.
- Carefully repaint worn spots on decorative stitching with thin paint and a small brush. Consider adding new embellishments.
- For scuffed toe caps, mask off the upper boot and repaint the cap or bind it with fresh leather.
Take boots to a pro for these more advanced steps. Correcting flaking, and peeling dye requires artistry and skill to avoid a blotchy mess.
How to Maintain Your Restored Boots

Don’t let all your hard restoration work go to waste. Keep your revitalized cowboy boots looking great with proper care and maintenance:
- Brush boots after each wear to lift dirt and debris that can scratch leather
- Clean and condition every 1-2 months to replenish oils and moisturize
- Polish every 2-4 weeks to conceal new scuffs and scratches
- Replace soles and heels once a year or when excessively worn
- Use boot trees constantly when not wearing boots to hold the shape
- Spray protective finish monthly for water resistance
- Store boots away from direct sun and heat to prevent drying
With the right techniques and high-quality products, you can give your beloved cowboy boots a new lease on life. Don’t send them to the junk heap just because they look a little dusty. With a few supplies and some elbow grease, you can revive their shine, shape, and comfort to keep your boots kicking for years to come.
Table: Average Lifespan of Cowboy Boot Components
| Component | Average Lifespan |
|---|---|
| Leather shaft | 10-20 years (with proper care) |
| Leather foot | 5-10 years (with resoling) |
| Rubber sole | 1-2 years |
| Leather sole | 4-6 years |
| Rubber heel | 8-12 months |
| Leather heel | 18-24 months |
| Stitching paint | 2-4 years |
Conclusion
Don’t let scuffs, scrapes, and discoloration spell the end for your favorite cowboy boots. This guide outlines everything you need to know about how to restore cowboy boots, from basic cleaning to advanced dye jobs. With some time and elbow grease, those boots can shine like new again. Keep your boots in service for years to come with these restorative tips.
FAQ’s
How long does it take to restore cowboy boots?
2-3 hours for basic cleaning and conditioning.
Is it worth it to restore old cowboy boots?
Yes, costs much less than new boots.
Can I dye faded cowboy boots myself?
Yes, with proper leather deglazing and dye products.
How often should I clean and polish restored boots?
Clean and condition every 1-2 months. Polish every 2-4 weeks.

