
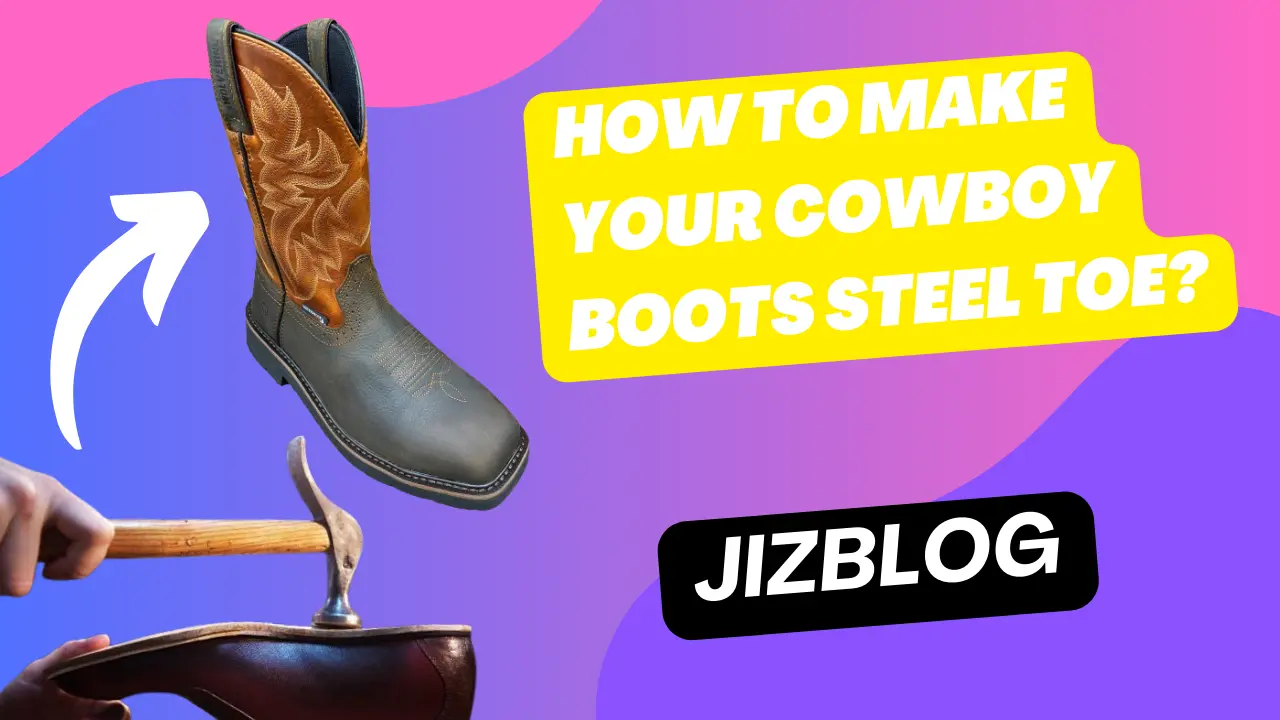
As an avid cowboy boot wearer working in construction, I wanted footwear that combines style and workplace safety. So I searched for how to make my cowboy boots steel toe. Adding steel-toe reinforcement seemed like a perfect (and affordable) way to customize my trusty old boots with the necessary protection. This article shares my firsthand experience going through the full DIY process of installing steel caps in cowboy boots, keeping intact their iconic design with added safety benefits.
Why Add Steel Toes to Cowboy Boots
Reinforcing your reliable old boots saves money compared to buying new steel-toe models. Customizing your cowboy kicks’ design with metal protective caps offers the best of both worlds – personalized Western style fused with critical workplace safety. This do-it-yourself guide explains the complete process of installing steel toes into your boots. Follow these steps to keep your feet safe in hazardous conditions without sacrificing an ounce of cowboy flair.
Understanding the Benefits
Before diving into the modification steps, understanding why steel-toe cowboy boots are sensible footwear is important. The Occupational Safety and Health Administration (OSHA) estimates that 25% of workplace accidents involve foot injuries, which steel toes can prevent.
Construction sites, offshore rigs, factories, warehouses, and other industrial environments present risks like:
- Dropped tools or machinery crushing feet
- Heavy loads rolling over feet
- Toes impacting hard surfaces
Steel toe caps protect the boot wearer by resisting up to 75 pounds of impact and compression force. And their protective properties don’t interfere with cowboy boots’ signature supple leather and slip-resistant soles.
Adding steel toes provides necessary protection without forcing workers to abandon their preferred Western style. For those already owning well-worn cowboy boots, installing steel toe caps into existing footwear is an easy DIY upgrade.
Table: Common Foot Injuries in Industrial Workplaces
| Type of Injury | Percentage of Total Foot Injuries |
|---|---|
| Bruises | 30% |
| Fractures | 25% |
| Lacerations | 20% |
| Sprains & Strains | 15% |
| Amputations | 5% |
| Punctures | 3% |
| Burns | 2% |
Gather the DIY Steel Toe Materials
Before starting the steel toe installation process, gather the necessary materials:
- Leather cowboy boots
- Protective steel toe caps
- Strong fabric adhesive glue
- Soft rags
- Foam brushes
- Sharp scissors
- Optional decorations – fabric, embroidery, etc.
Tools You’ll Need

Then equip yourself with these essential tools:
- Utility knife
- Tin snips
- Sandpaper
- Protective gloves & eyewear
- Well-ventilated work area
Once your materials and tools are prepped, clear a safe workspace with ventilation and strong lighting. Then thoroughly clean boot interiors so glue adheres well to leather during installation.
Measuring and Fitting Steel Toe Caps
Steel toe caps are available from work footwear retailers and websites selling industrial safety products. Select your desired toe cap shape and size:
Common protective toe cap shapes:
- Rounded (“bulbous”)
- Pointed (“soft box”)
Before attaching caps, test proper fit by inserting feet fully into boots and marking toes’ furthest inward position with a pencil. Then place caps inside, ensuring they extend just past pencil lines without uncomfortable tightness.
Use tin snips to trim any oversized portions if needed, following the contours of the steel caps’ edges. Finally, smooth trimmed sections with sandpaper so no sharp burrs remain. The caps should fit snugly yet comfortably when boots are worn.
Table: Impact Protection Levels by Steel Toe Cap Thickness
| Toe Cap Thickness | Impact Resistance | Compression Resistance |
|---|---|---|
| 16 gauge | Up to 50 lbs | Up to 1,500 lbs |
| 14 gauge | Up to 75 lbs | Up to 2,500 lbs |
| 12 gauge | Up to 100 lbs | Up to 3,500 lbs |
Affix Caps Securely Inside Boots
Once custom fit is achieved, prep boot interiors for gluing. Use a utility knife to carefully remove any padding or debris covering the leather upper lining near the toe box. Then wipe clean with a soft rag and let fully air dry.
Apply fabric adhesive generously to the protective toe caps’ edges. Also, spread glue over a leather section of boots where the caps will attach. Allow 5 minutes of drying time as the adhesive becomes tacky.
Then, while wearing protective gloves, firmly press caps into boots’ toe boxes in the desired position. Apply pressure across all edges for maximum adhesion and stability. Add extra glue to any gaps along the edges and let bond entirely overnight.
Decorative Customizations
One advantage of DIY steel-toe cowboy boots is custom embellishments showcasing personal flair. Polish off your upgraded footwear by integrating decorative fabric or embroidery designs.
Measure toe caps’ visible exterior surfaces once fully dry inside boots. Cut fabric patches like bandanas, leather, or canvas to match shapes. Adhere patches over steel caps with fabric glue for a trendy Western-style statement.
For extra personalization, embroidering initials, logos, or designs directly into fabric coverings. Stitching perfectly coordinates with cowboy boots’ handicraft heritage while labeling your unique steel toe pairs.
Get Ready to Work Safely in Style!
Complete the cowboy boots transformation by re-inserting any padding pieces previously removed. Lace-up boots tightly and walk around to set toe caps firmly into form. Then confidently don your bespoke steel-toe cowboy style next work shift!
Know your feet remain protected from all industrial hazards thanks to customized steel-toe cowboy boots offering the best modern safety and vintage Western swag. No need to compromise your occupational safety or signature boot style with this straightforward DIY steel cap installation method. Just gear up with basic materials and tools, reinforce away, then embellish new indestructible work footwear any way you like
Conclusion
I’m thrilled to now have customized steel-toe cowboy boots offering me injury protection along with signature Western flair. Learning how to make your cowboy boots steel toe is much simpler than it initially seemed thanks to this straightforward do-it-yourself method. If you own traditional leather boots but desire upgraded safety, I recommend trying this steel cap insertion process yourself. With some basic materials and tools, you can reinvent classic cowboy footwear into personal steel-reinforced kicks ready to withstand workplace hazards in style.
FAQ’s
What materials do you need to add steel toes to cowboy boots?
You need steel toe caps, fabric adhesive glue, rags, brushes, cutting tools, eye protection, and an optional decorative material like fabric or thread.
What are the main steps to installing steel caps?
The steps include: prepping your work area, measuring and fitting the steel toe caps, gluing the caps securely inside boots, letting the adhesive dry, and adding decorative embellishments as desired.
Is it difficult for the average person to install steel caps themselves?
No, the process uses tools and products commonly found at home and is easy enough for most people to complete on their own.
How much money do you save by reinforcing your existing boots versus buying new steel toe boots?
Adding the steel caps costs about $20-50, whereas new steel-toe western boots cost $200 or more.