I’ve always admired the colorful, hand-painted cowboy boots I’d see women wearing out line dancing or in the bars downtown. Though I loved my brown leather boots, I really wanted to customize them with bright colors and fun designs like I’d seen to better showcase my personality. But every time I considered painting my cowboy boots, I worried about messing them up if I didn’t know the proper way to do it. After picking up some art supplies and testing different painting techniques that ended up being a disaster, I finally figured out exactly how to properly paint cowboy boots.
Now I have my own pair of stunning cowboy boots that I crafted to match all my favorite outfits. Keep reading to learn my tips for how to paint cowboy boots without any runny paint or ugly cracks.
Why Should You Paint Your Cowboy Boots?
Here are some top reasons to try painting cowboy boots yourself:
- Cost savings: Getting custom-painted cowboy boots from an artist can cost $200 or more. Painting them at home saves big.
- Unique look: Paint allows you to completely customize boots beyond what you can buy. An artistic design makes them truly one-of-a-kind.
- Repurpose old boots: Scuffed or damaged cowboy boots get revived with a fresh coat of paint. Saves the cost of new boots.
- Matches your style: Paint boots in any colors and patterns you like to complement your personal taste. Great for concerts, festivals, or costumes.
- Fun DIY project: It’s an enjoyable creative endeavor and satisfying to see your vision come to life on the boots.
Table: Common Leather Paint Colors for Cowboy Boots
| Color | Description |
|---|---|
| Brown | For traditional leather boot color or earth tones |
| Black | Creates bold, dramatic designs |
| White | Great base color; stands out when layered |
| Red | Perfect for vibrant, eye-catching details |
| Orange | Bright, sunny colors for cheerful designs |
| Yellow | An earthy hue that aligns with western themes |
| Blue | Cool accent color that pairs well with brown |
| Green | An earthy hue that aligns with Western themes |
| Purple | Unexpected pop of color for bright highlights |
Gathering Your Painting Supplies
Painting cowboy boots requires having the right painting supplies on hand. Here’s what you’ll need:
- Leather paint: Special paint formulated for application to leather. Look for acrylic leather paint for the best results.
- Paintbrushes: An assortment of brushes in different tip sizes allows both fine details and broader strokes.
- Masking tape: Used to cover areas you don’t want to be painted, like boot tops and soles. Painter’s tape works best.
- Q-tips: Helpful for tidying up small mistakes or paint touch-ups. The cotton tips apply just a dab of paint.
- Paper towels & rags: For wiping up spills or excess paint drips. Rags can also be used for applying paint.
- Water cups: For rinsing brushes when switching paint colors to keep them from getting muddy.
- Acrylic sealer: A clear acrylic finisher spray seals and protects painted leather.
- Drop cloth: Protects your painting area from accidental spills and splatters.
Preparing the Leather Surface
Proper preparation ensures paint adheres well so your design withstands wear and tear:
- Clean the leather: Use a small amount of mild leather cleaner and a soft brush to clean boots of dirt, oil, and grime that could prevent proper paint bonding.
- Condition the leather: Applying leather conditioner makes the leather supple and ready to absorb paint. Massage conditioner in well.
- Remove polish: Any polish on the boots needs to be removed so the paint doesn’t simply slough off. Saddle soap helps remove built-up wax.
- Let boots dry: It’s crucial boots are completely dry before painting. Let them air dry for at least 24 hours after cleaning and conditioning.
Planning Your Design
Now for the fun part – deciding what scene, colors, and details to paint on your cowboy boots! Here are some tips for planning your design:
- Decide on placement: Will you paint just the shafts, only the foot portion, or an all-over design? This affects how you sketch out your design.
- Make idea sketches: Draw rough sketches of paint colors and elements to visualize how your design will play out on the boots.
- Gather image inspiration: Look at cowboy art, landscape photos, or whatever inspires the theme you want to paint. This gives coloring and detail ideas.
- Use proper proportions: When sketching, accurately represent where elements will go on the boot shape so you have a guide.
- Consider a theme: Western landscapes or animals are popular but get creative! Abstract art, your favorite movie, or music stars make fun themes.
Table: Average Costs of Custom Painted Cowboy Boots
| Boot Type | Average Cost |
|---|---|
| Basic solid color fill | $50 – $150 |
| Extensive full-coverage art | $75 – $200 |
| Simple landscape or floral | $150 – $300 |
| Detailed portrait or scene | $300 – $500+ |
| Extensive full coverage art | $500+ |
Taping Off Sections
Once your design is planned, it’s time to start prepping the boots. Use masking tape to cover off any areas you want to keep free of paint:
- Tops of shafts: Run tape around the top openings where leather meets boot lining to keep paint away.
- Toe and heel edges: Cover the edges so the paint doesn’t get on boot soles or heels. Keep tape tight to the edge.
- Any stitching: If you want to keep the original stitching color, tape over the stitch lines.
- Sections of design: Tape off parts of the design you’ll paint later as different colors.
Take your time applying tape so edges stay crisp between colors. Press the tape down firmly but be careful not to stretch the leather.
Adding Base Coats
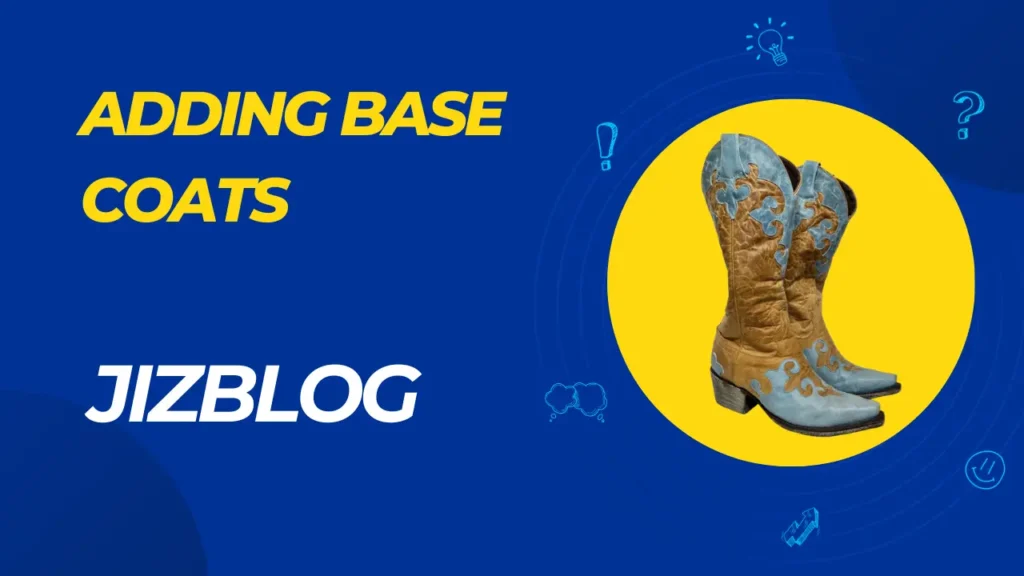
With prep complete, it’s time to start painting! Base coats provide an even underlayer for designs:
- Paint the entire surface: Cover the entirety of each shaft with paint so no original leather shows through.
- Use foam brushes: Foam brushes quickly apply an even base layer without leaving lots of brush strokes.
- Do multiple coats: Apply 2-4 base coats to ensure fully opaque coverage before adding designs. Let each coat fully dry first.
- Pick neutral colors: For base coats, brown, tan, cream, gray, or black work well and won’t show under designs later.
- Include toe underside: Paint the underside of the toe as well so no unpainted leather is visible there when worn.
Painting Main Design Elements
Once your base coats have dried, the fun really begins – painting the main parts of your design:
- Look at your inspiration: Keep your sketches or pictures nearby to guide you as you paint the important parts.
- Start with an outline: Use a pencil to lightly draw where you want the main parts of your design to be. Then, use a small paintbrush to trace over these lines.
- Fill in the big areas: Use brushes that match the size of the areas you’re painting, like the sky, ground, or specific objects.
- Work from the back to the front: Paint the background stuff first, then add the details in the front. This way, you won’t accidentally smudge anything.
- Let each part dry: If you’re painting different sections separately, make sure each layer dries completely before you move on to the next one.
Adding Intricate Details
Time for fine brushwork to make your design really stand out. Here’s how to add polish:
- Precise details: Use small brushes for clear lines, like whiskers, leaf veins, animal fur, and branches.
- Add texture and patterns: Make your painting more interesting with textures such as scales or polka dots, crosshatching, gradients, and distressed marks.
- Highlight and shadow: Use lighter and darker shades of your main colors to make your painting look more realistic and less flat.
- Fix mistakes: If you make a small mistake, gently wipe it away with a damp Q-tip.
- Keep steady: Rest your elbows on a flat surface for better control. Take breaks to avoid getting tired and making mistakes.
Removing Tape and Letting Dry
Once all the paint is applied, it’s time for the finishing steps:
- Carefully remove tape: Pull all tape off slowly so you don’t disturb any newly painted edges.
- Dry boots horizontally: Lay boots on their sides with shafts vertical. This prevents drips from running through the paint.
- Allow 24 hours for drying: It takes a full day for acrylic leather paint to cure and become durable. Don’t wear it for at least 24 hours.
- Consider faster drying: You can speed up drying time to 6-8 hours by placing boots near a fan or heat source like a radiator or hair dryer on a low setting.
Sealing and Protecting the Paint
The final step is applying an acrylic sealer over the painted leather:
- Work in a ventilated area: Sealers contain volatile chemicals, so use them outside or in a garage. Don’t breathe direct fumes.
- Cover the entire boot: Lightly spray sealer over the entirety of painted portions using sweeping motions. Avoid getting sealer on boot soles or lining.
- Multiple thin coats: Build up protection by applying 2-3 thin mists of sealer rather than 1 thick layer that could crack.
- Let sealer fully cure: It takes about 24 hours for the sealer to completely dry and harden. Boots shouldn’t get wet during this time.
Troubleshooting Painting Problems
Painting cowboy boots does take some technique. Here are some common problems and how to avoid them:
- Paint coming off: If the paint rubs off your boots, it’s likely because they weren’t prepared properly. Always clean and condition the leather before painting.
- Streaky brush marks: If your paint has streaks, you might have applied it too thickly or used the wrong brush strokes. Try using foam brushes and applying thin layers for a smoother finish.
- Paint bleeding under tape: If the paint seeps under the tape, it’s because the edges aren’t taped down tightly enough. Press the tape firmly and keep an eye out for any leaks.
- Slow drying: If certain parts won’t dry, it could be due to too much paint buildup or painting in a humid environment. Apply thin layers and try to dehumidify the painting area.
- Cracking: If the paint cracks when you flex your boots, it’s likely because the layers are too thick. It’s better to apply multiple thin coats to prevent cracking.
Finding Inspiration for Painted Cowboy Boot Designs
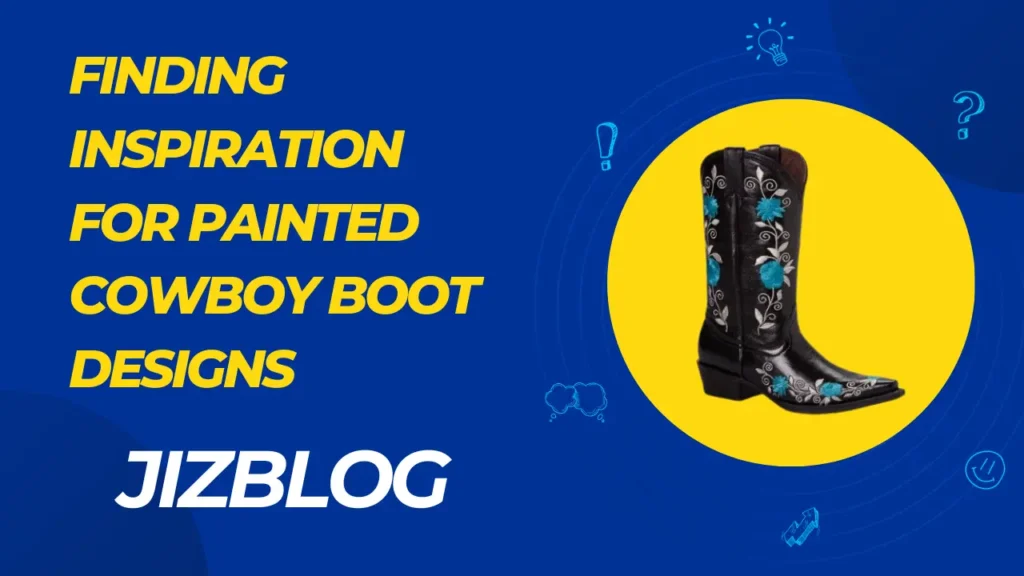
Hopefully, you now feel equipped to paint your own cowboy boots with stunning results! Here are some inspiring design ideas:
- Western landscapes like deserts, forests, or mountains
- Cactuses, longhorns, or other Southwest motifs
- Feathers, arrowheads, or buffalo for Native American themes
- Music artists, records, or colorful abstract patterns
- Pet portraits of your favorite furry friend
- Wildflowers, vines, leaves, or nature scenes
Conclusion
As you can see, with the right supplies and techniques, learning how to paint cowboy boots is an enjoyable way to customize your footwear and unleash your creativity. Not only is it a fun DIY project, but you end up with a durable, vibrant pair of cowboy boots that reflect your personal style. Whether you’re a gifted artist or have never picked up a paintbrush, you can create stunning designs on your boots. So dig those dusty old cowboy boots out of the closet and get ready to give them new life with a custom paint job. Your one-of-a-kind Western masterpieces are waiting to be born!
FAQ’s
How do I prep the boots before painting?
Clean and condition the leather so paint adheres well.
What if I mess up while painting the design?
Use a damp Q-tip to gently fix any small mistakes.
How long does it take for painted boots to dry?
Allow 24 hours of drying time before wearing painted boots.
How can I protect the painted leather from scuffs?
Apply 2-3 thin coats of acrylic sealer over painted areas.